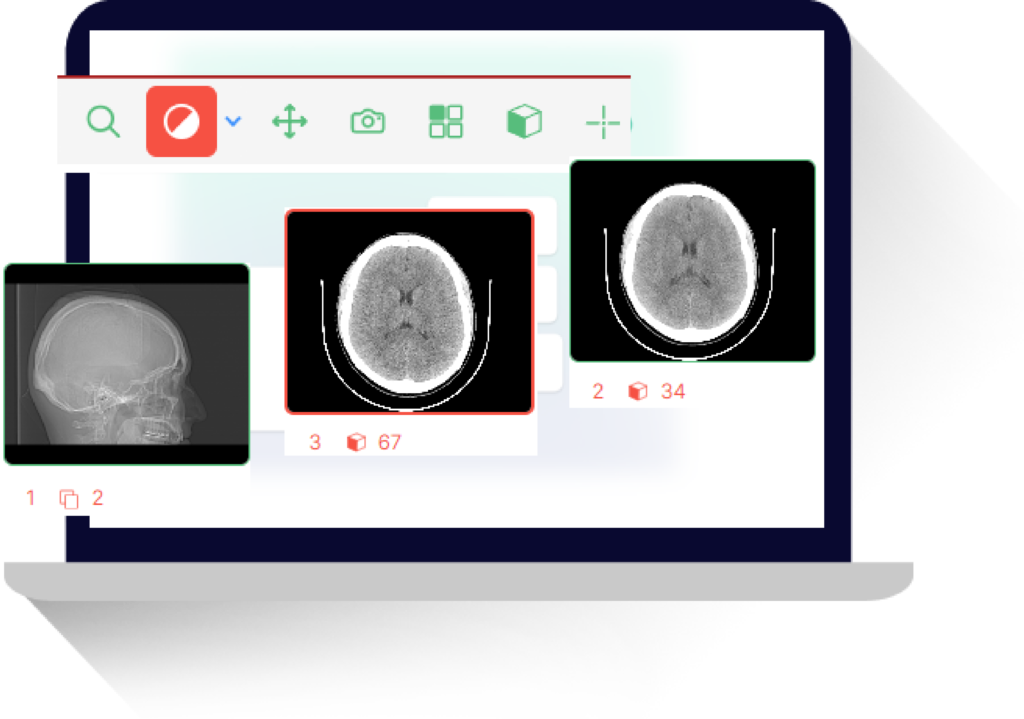
If you work in the field of radiology, you know how important it is to have accurate measurements when it comes to sizing implants. With the advancements in technology, there are now tools available to help you achieve precise measurements using a Dicom viewer.
In this article, we will explore the benefits of using a Dicom viewer for sizing implants and provide a step-by-step guide on how to do so.
Why Use a Dicom Viewer for Sizing Implants?
A Dicom viewer is a software application that allows you to view and manipulate medical images in the Dicom format. This format is used for storing and transmitting medical images, making it the standard in the healthcare industry.
Using a Dicom viewer for sizing implants offers several benefits, including:
- Accurate Measurements: Dicom viewers have measurement tools that allow you to take precise measurements of medical images. This is especially important when it comes to sizing implants, as even a small error in measurement can have significant consequences.
- Efficient Workflow: With a Dicom viewer, you can easily access and view medical images, making the sizing process more efficient. This can save you time and improve your overall radiology workflow.
- Easy Comparison: Dicom viewers allow you to compare multiple images side by side, making it easier to see any changes or differences in size. This is particularly useful when sizing implants for patients who have had previous procedures.
Now that we understand the benefits of using a Dicom viewer for sizing implants, let’s dive into the steps on how to do so.
Step-by-Step Guide to Sizing Implants Using a Dicom Viewer
Step 1: Import the Dicom Images
The first step is to import the Dicom images into your Dicom viewer. This can usually be done by clicking on the “Import” or “Open” button and selecting the images from your computer or a connected device.
Step 2: Calibrate the Images
Before taking any measurements, it is important to calibrate the images. This ensures that the measurements you take are accurate and consistent. To calibrate the images, you will need a reference object of known size, such as a ruler or a calibration tool provided by your Dicom viewer.
Using the measurement tool, measure the known size of the reference object and enter it into the calibration settings of your Dicom viewer. This will calibrate the images and allow you to take accurate measurements.
Step 3: Select the Measurement Tool
Most Dicom viewers have a variety of measurement tools available, such as a line tool, angle tool, and area tool. For sizing implants, the most commonly used tool is the line tool.
Select the line tool from the toolbar or menu of your Dicom viewer.
Step 4: Take Measurements

Using the line tool, click and drag to draw a line on the image. The length of the line will be displayed in the measurement box. You can also adjust the line by clicking and dragging the endpoints.
For sizing implants, you will need to take measurements of the length, width, and height of the implant. You can do this by drawing lines on the corresponding sides of the implant.
Step 5: Calculate the Volume
Once you have taken all the necessary measurements, you can use the volume calculation tool to determine the size of the implant. This tool will use the measurements you have taken to calculate the volume of the implant.
Step 6: Compare to Manufacturer’s Specifications

After calculating the volume, you can compare it to the manufacturer’s specifications for the implant. This will ensure that the implant is the correct size for the patient and the procedure.
If the calculated volume does not match the manufacturer’s specifications, you may need to adjust your measurements or consider a different size implant.
Tips for Accurate Measurements
- Use a high-quality Dicom viewer with accurate measurement tools.
- Make sure the images are properly calibrated before taking measurements.
- Take multiple measurements and compare them to ensure accuracy.
- Use reference objects of known size for calibration.
- Double-check your measurements before finalizing the size of the implant.
- Conclusion
Using a Dicom viewer for sizing implants offers many benefits, including accurate measurements, efficient workflow, and easy comparison. By following the steps outlined in this article, you can ensure that you are taking precise measurements and providing the best possible care for your patients.
Remember to always use a high-quality Dicom viewer with accurate measurement tools and to calibrate your images before taking any measurements. With the right tools and techniques, you can confidently size implants and improve your radiology workflow.
Want to try our Free Dicom Viewer?
Visit our Help Center to learn how to use it – Here


